What you need
- flour
- water
- mixing bowl
- spoon
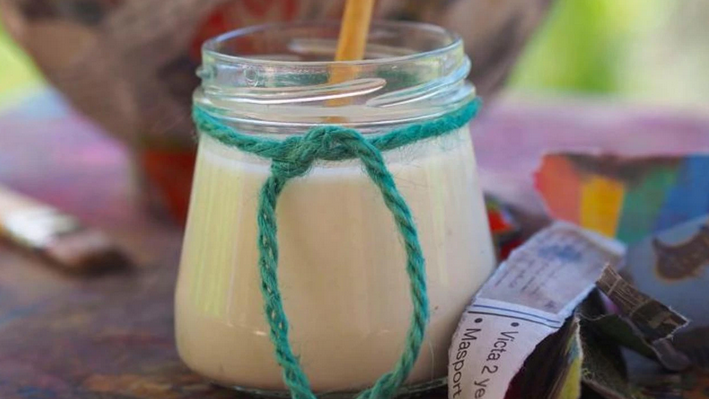
Mix one part flour with one part of water (eg, 1 cup flour and 1 cup water, or 1/2 cup flour and 1/2 cup water) until you get a thick glue-like consistency. Add a bit more water if it’s too thick.
Mix well with a spoon to get rid of all the lumps. If you find you are getting lumps in your glue, you can use a small kitchen electric mixer to whizz them out.
Add a few tablespoons of salt to the final mixture to help prevent mold.
- You need to use strips of newspaper only, or even paper tissues or towels.
- Let the newspaper strips soak in the paper mache glue a little before using.
- Cover your artwork with only 2-3 layers, then let dry completely. This is an important step.
- Once a layer is dry you can add 2-3 more layers, remembering to let each layer dry before adding the next one.
- The final layer can be plain paper – so it’s easier to paint – but use the thinnest paper possible and make sure it’s soaked well in the paper mache glue.
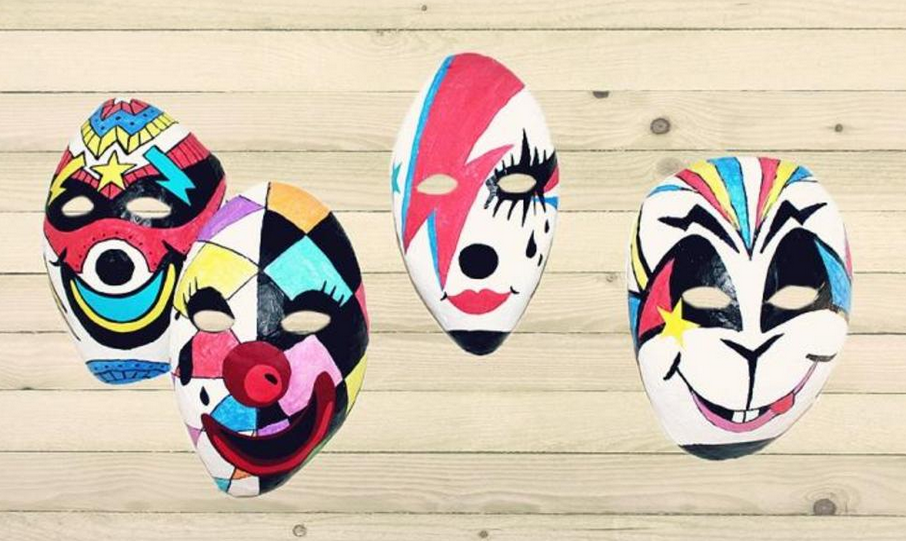
Make a paper mache mask
What you need
- Balloon
- Strips of newspaper
- Paper mache glue
- Paper
- Scissors
- Rubber band
- Hole puncher
- Markers
- Paint
Activity
The balloon will be your mask, so blow it up to the size of your child’s face.
Coat the balloon with two to three layers of newspaper strips soaked in paper mache glue and let it dry completely
Once dry, cover it with two to three more layers of plain paper strips (soaked in the paper mache glue) and again, leave to dry completely. Using plain paper makes it easier to paint on than the newspaper strips.
Pop the paper mache balloon (after the glue has dried) with a needle.
Use scissors to cut the paper mache ball in half.
Draw the mask face features such as a nose, eyes and mouth.
Cut eye shapes out of the mask.
Make two small holes on the sides around the ears area using a hole puncher and put a rubber band through the holes securing with a knot.
Paint the mask and it’s ready to be used.